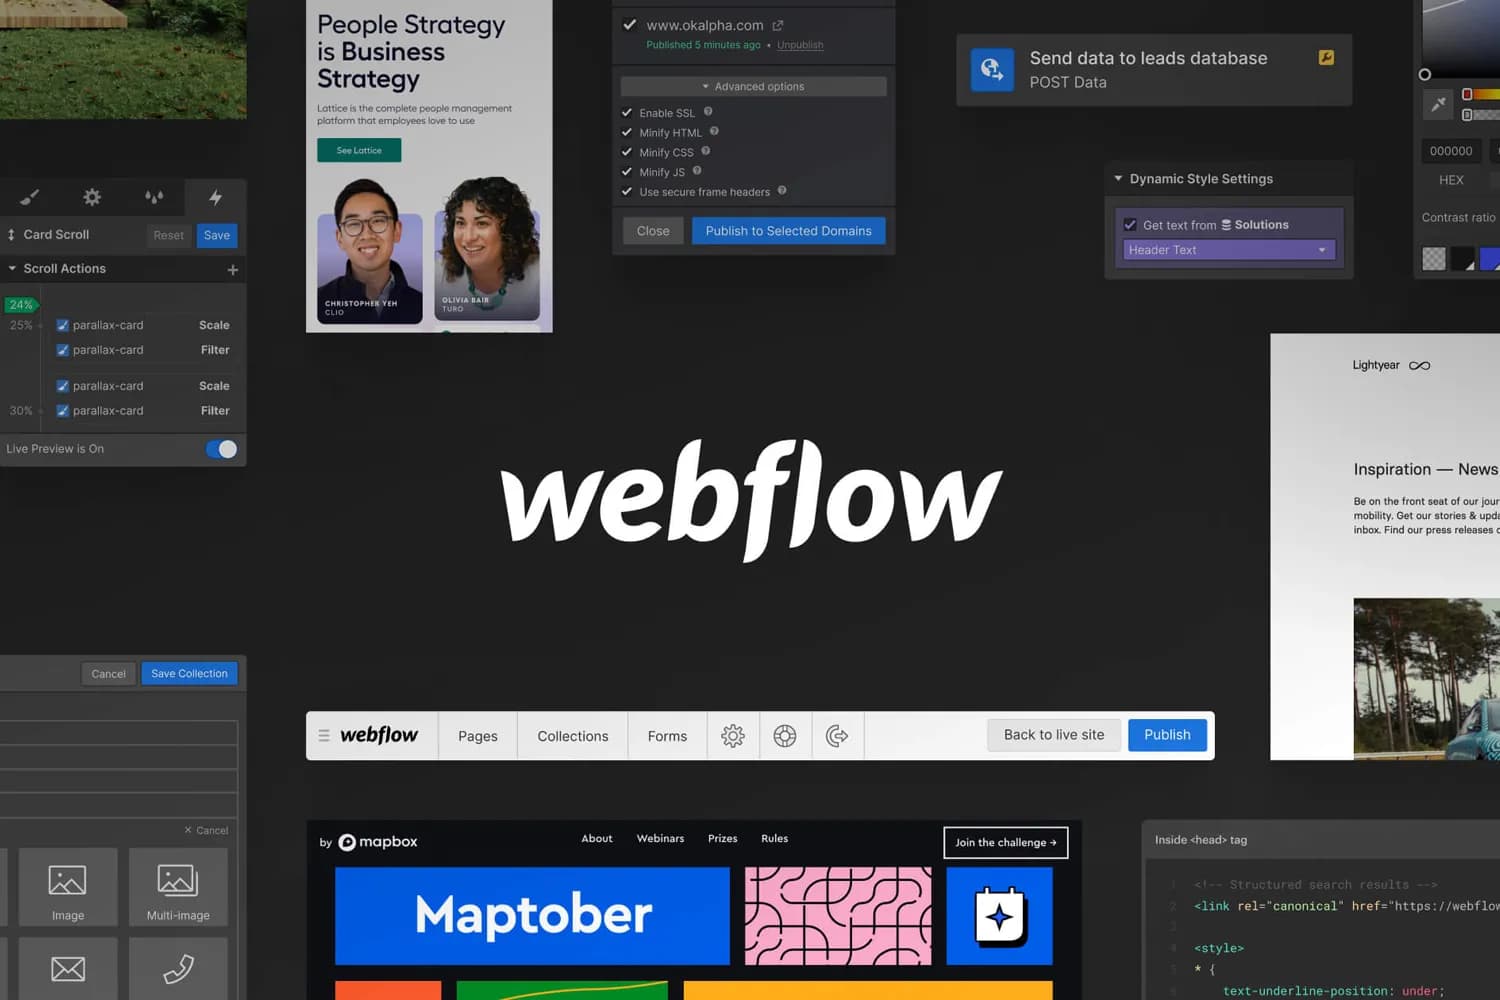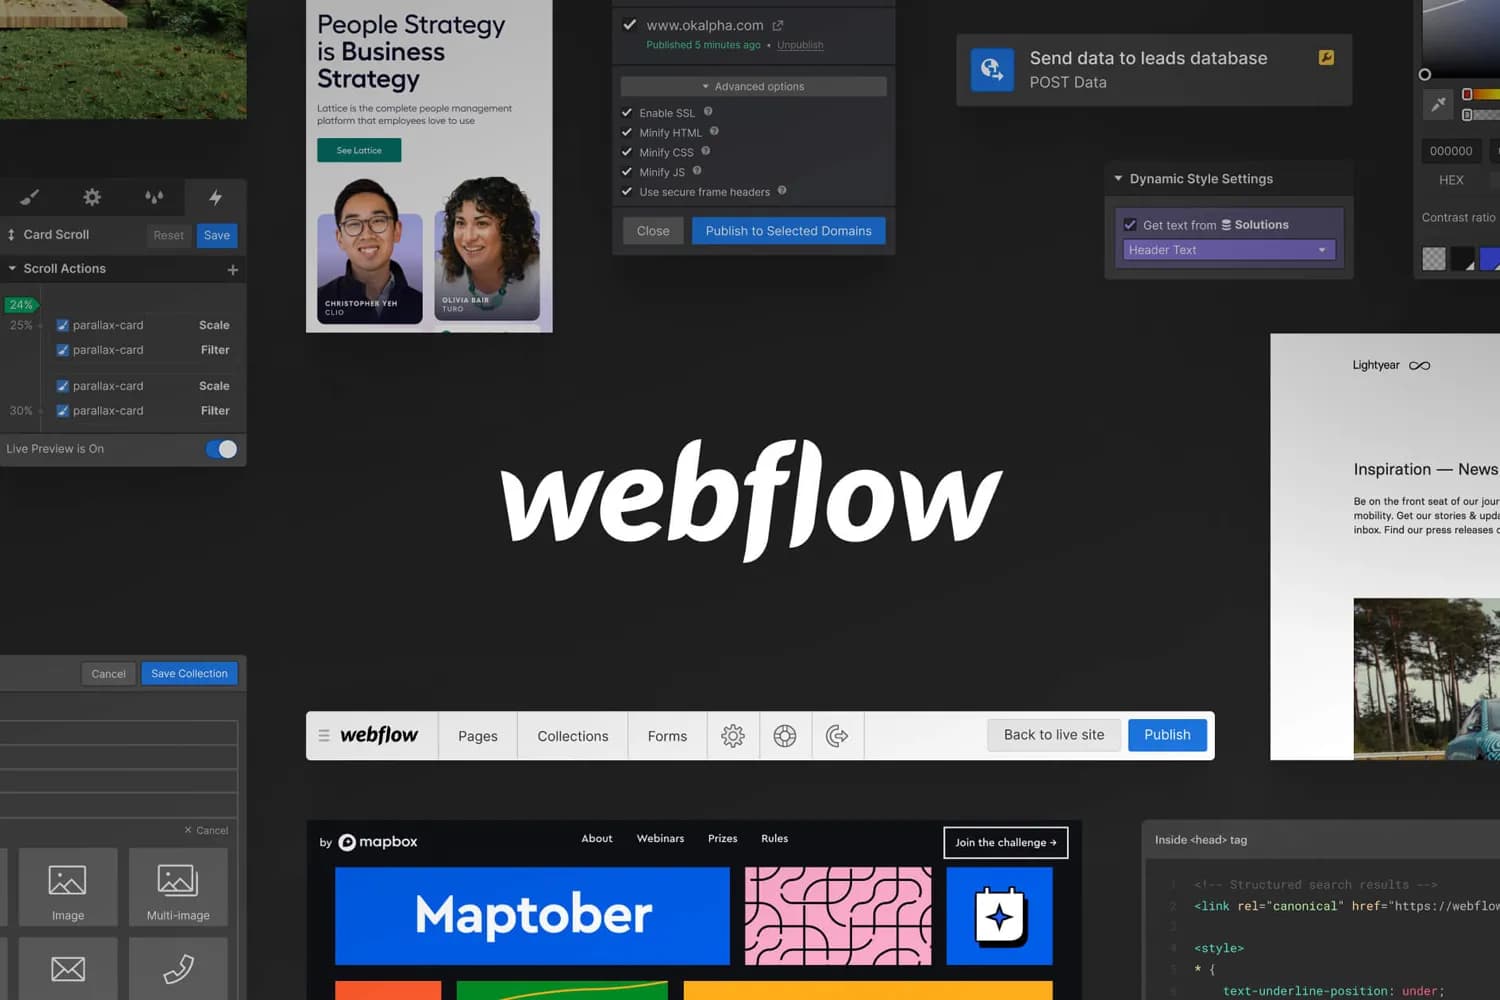
Webflow lets you design a fully custom, responsive website visually, without writing code. Unlike drag-and-drop builders that lock you into rigid templates, Webflow gives you control over every element, while generating clean HTML and CSS behind the scenes.
Here is the step-by-step process to build a custom website in Webflow without code.
Step 1: Plan your website
Before opening Webflow, decide:
- The goal: leads, sales, bookings or information?
- Your pages: typically Home, About, Services, Portfolio, Blog and Contact.
- Your content: write headlines and key copy first. Design is easier when you know what it has to hold.
- Your sitemap and URLs, keeping them short and descriptive.
Step 2: Choose a template or start from a blank canvas
Webflow offers free and paid templates. A template is faster; a blank canvas gives you a unique design. Read the pros and cons of Webflow templates before deciding.
Step 3: Set up your style guide
Define global styles first so the whole site stays consistent:
- Body text, headings (H1 to H6) and link styles
- Brand colours as variables (see choosing a colour palette in Webflow)
- Fonts (see typography in Webflow)
- Reusable classes for buttons, sections and containers
Step 4: Build your layout
Webflow layouts use sections, containers and boxes, arranged with Flexbox and Grid. Build one section at a time:
- Add a section and a container to keep content at a readable width.
- Use Flexbox or Grid to arrange columns and cards.
- Save repeated blocks (navigation, footer, call-to-action) as Components so you edit them once.
Step 5: Make it responsive
Webflow designs desktop first, then lets you adjust each breakpoint: tablet, mobile landscape and mobile portrait. Check every page on each breakpoint, adjust font sizes and stacking, and make buttons large enough to tap. Learn why this matters in why your website needs responsive design.
Step 6: Add dynamic content with the CMS
Use CMS Collections for anything you publish repeatedly: blog posts, case studies, team members or job openings. Design one template page and Webflow generates a page for every item. See how to create an SEO-friendly blog in Webflow.
Step 7: Add interactions (sparingly)
Webflow interactions can add scroll animations, hover effects and page transitions. Use them to guide attention, not to decorate everything; heavy animation slows pages and distracts visitors. Our tips for Webflow animations cover what works.
Step 8: Set up SEO
- Edit the title tag and meta description for every page.
- Use one H1 per page and logical H2/H3 headings.
- Add alt text to images and compress them before upload.
- Set Open Graph images for social sharing.
- Add 301 redirects if you are replacing an old site.
- Connect Google Search Console and submit your sitemap.
Step 9: Connect forms and integrations
Webflow forms work out of the box. Connect them to your CRM or email tool with native integrations or Zapier/Make. See how to integrate Webflow with Google Analytics and Mailchimp.
Step 10: Test and launch
Test forms, links and every breakpoint, then choose a site plan, connect your custom domain and publish. Webflow handles hosting, SSL and the CDN for you.
Want a professional Webflow website?
Building it yourself is a great option for simple sites. For a custom design, CMS, integrations and SEO done right the first time, our Webflow development agency can design and build it for you, or help you finish what you started. Not sure Webflow is right? Read Webflow vs WordPress or contact Webyant.

Jayanti Solanki
Founder, Webyant Technologies
For 17+ years, Jayanti has been turning designers' visions into websites that actually work: pixel-perfect, lightning-fast and built to convert. A Computer Applications honours graduate and certified Shopify Expert, Jayanti founded Webyant in 2016 and now leads a team crafting WordPress, Shopify, Webflow and Next.js websites (and, lately, AI assistants) for brands from Deesa to around the world. On this blog, Jayanti shares the practical, no-fluff lessons learned from shipping 100+ real projects.
Need help with this? Explore our services